Biab – the next step
The next step – Brew in a Bag! So we have the extract brewing an kegging mastered. Doing a biab allowes you to fully customize your beer and experiment with all the ingredients from scratch in an everlasting attempt to create the perfect home brew beer!!!
The equipment:
– Got a 50l electric urn
– Digital temperature controller calibrated to be mounted on the outside of the urn. This will help with the mashing step to keep the wort at a constant temperature by switching the urn on and off at the external power.
– Strainer to cover the element of the urn so the bag wont touch and burn
– Home made inmersion chiller using 3/8 copper tubing, 15m in lenght. Coiled around a corny keg and hooked up to a small pond pump which will pump ice water through the chiller to cool down the wort to pitching temperature after the boil
– Voil cloth to make a bag with (still a bit nervous about this)


Starting the right way
After a few stuck brews i took B1’s advice and made a proper yeast starter. With the home made stir plate he made it works like a charm!!
1l of boiled water with 100g dme. Boiled 2 mins and cooled down to 22 deg. Pitched the yeast and let the stir plate do the rest. Going to leave it stirring for a day before starting the next brew!


Homemade Secondary
Yay!
The carboys arrived and they are perfect! Only thing is that we can’t find a 50mm bung as the bottle necks are huge!
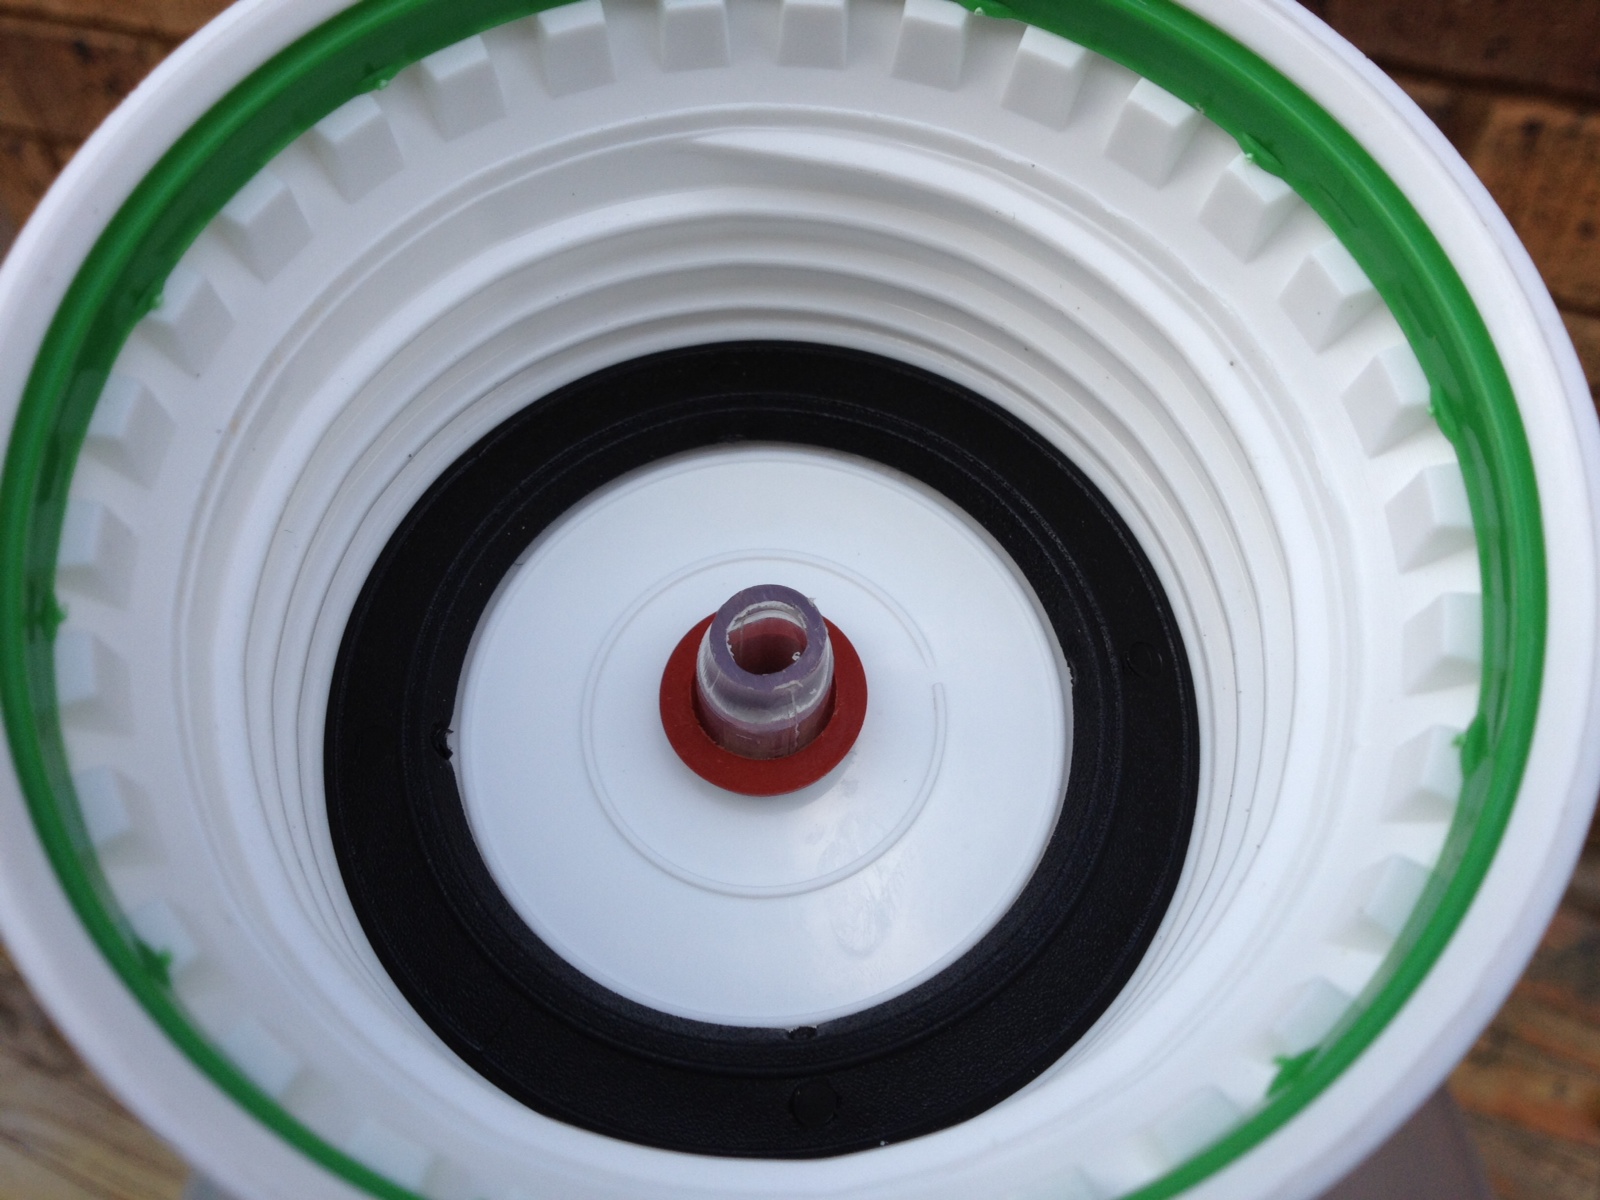
So I did a little DIY to get the airlock into the fermenter using the original cap 🙂